Getting Started
Installing Amulet
For the purpose of this tutorial only instructions for installing Amulet from our pre-built/compiled builds will described, for instructions to install from our source code please refer to our README.
You can always find our latest release on our Github Releases page. The latest release will always beat the top of this page. From there, there should a section labeled Assets, which should look like the following:
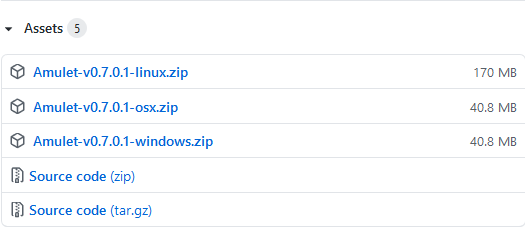
The Assets section for release v0.7.0.1
From there, download the appropriate .zip file for your operating system. After the download has completed, make sure to extract the files out of the .zip file into a directory. Once finished, run the appropriate executable for your operating system:
Windows:
amulet_app.exeOSX:
amulet_app.appLinux: TODO
Opening a World
Note: We recommend that any world that is to be opened by Amulet is backed up to avoid any loss of data
When starting Amulet, you should be presented with a screen similar to the following:
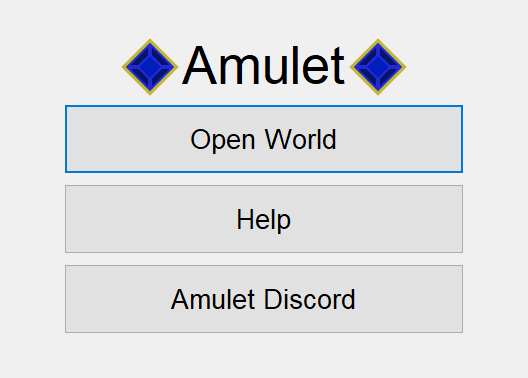
The start screen of Amulet
After clicking the Open World button, you will be presented with the following pop-up dialog:
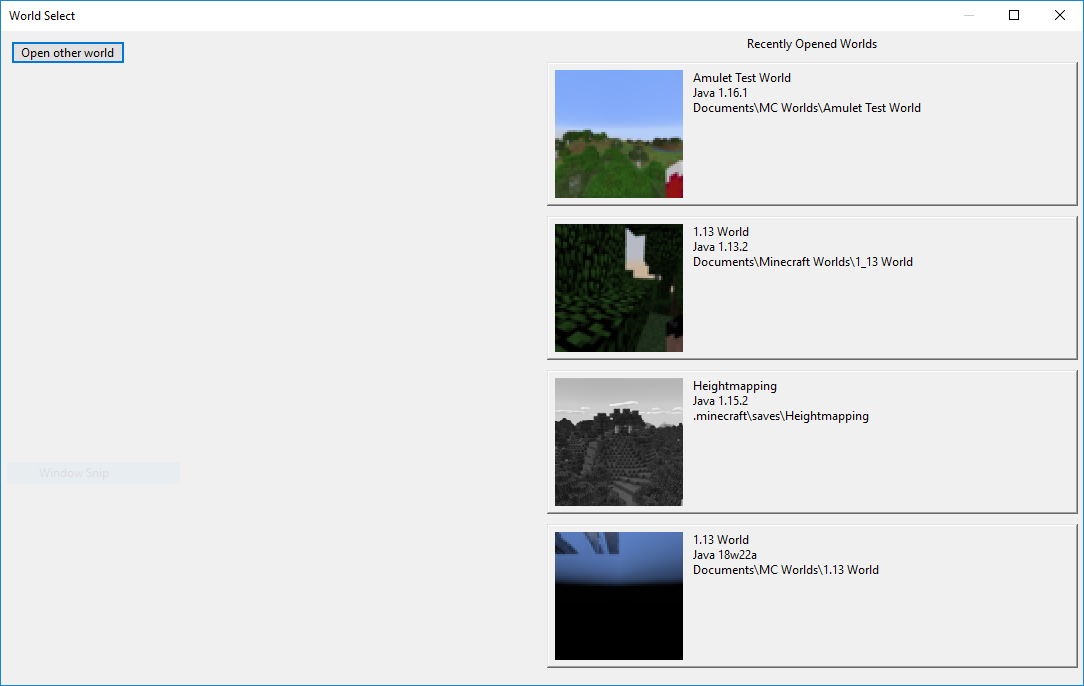
The world select pop-up dialog
The worlds on the right side of the dialog will be worlds that have previously been opened by Amulet
and clicking the Open other world button will show a directory choosing dialog. Using this dialog,
select the world directory that you wish to open and then select Select folder
Once the world has successfully been loaded by Amulet, the following be be displayed:
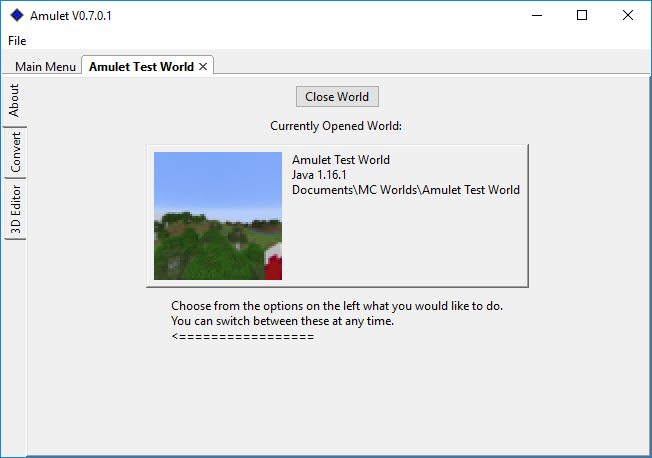
The world screen
From this screen, a summary of information about the world is displayed such as the world name, the last version and platform of Minecraft the world was opened in, and the ending of the file path where the world is located.
On the left side there are 3 tabs, with the current being the About tab, where various sub-programs
of Amulet can be accessed and used.
As of v0.7.0.1, these tabs are:
About- Summary of the opened world’s informationConvert- The Amulet world converter, see the World Converter Tutorial3D Editor- The Amulet 3D editor, see the World Editor Tutorial